How Multiple Degrees of Freedom Encoders Deliver High Accuracy
There is an ever-increasing demand for accuracy in many manufacturing industries. Adding to this general need for higher accuracy is the fact that industry sectors such as semiconductors and electronics are moving to ever-smaller feature sizes. To achieve the high levels of precision increasingly required by a variety of manufacturer, machine builders need metrology designs with encoders that can deliver accurate, reproducible measurements.
A limitation in traditional approaches is that conventional linear encoders can measure only one degree of freedom, which means they cannot detect errors in other directions. This includes the unavoidable effects of deviations from guideway error or thermal expansion, which would cause deflection along multiple axes. Simply improving an encoder’s accuracy in its primary axis is not enough to achieve the accuracy needed in many of today’s applications.
Another issue is that, in multi-axis systems, an error in one axis carries over into the other axes, thereby affecting the entire motion system. A discrepancy in any encoder axis will change the position of the machine’s tool point–but these errors are typically not measured.
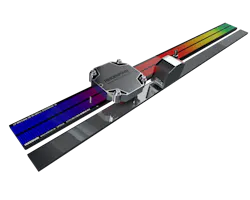
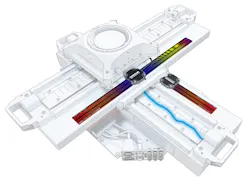
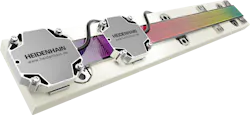
To overcome this issue, Heidenhain has developed a technology that can simultaneously provide data across multiple degrees of freedom (Multi-DOF). By using multiple reader heads, and developing the encoder interface to effectively read them, errors in multiple axes can be measured and compensated for to increase overall system accuracy.
Principles of multi-axis encoders
Linear encoders consist of a scale with a grating and a scanning head. In Heidenhain’s latest encoders, for example, the scale or track has reflecting lines that are 0.2µm high and are spaced 4µm or less apart. The scanning head moves along the scale without mechanical contact and reads the grating. Although there are different methods in which an encoder can read a grating, the most precise method is to do so optically–using the refraction and interference of light to obtain exceptional accuracy.
To take out-of-plane measurements, Heidenhain has developed the GAP 1081. The encoder technology used here enables measurement of the gap between a mirrored scale and the scanning head. This way, out-of-plane measurements can be made in any other axis, depending on the setup of the metrology system. The GAP 1081 also features high drift stability with no subsequent electronics needed (it can interface with standard 1Vpp encoder inputs) which also makes it very cost effective.
Simplifying cabling
With two or more degrees of freedom being scanned at the same time, how can machine builders avoid the complexity of too many cables?
The EnDat 3 serial interface from Heidenhain enables two or more streams of data to be forwarded to the controller over a single cable. Using EnDat3, data from multiple encoder cables can be routed to a single bus interface and transferred out through a single line. This can be done with position data as well as with data from other types of sensors such as acceleration and temperature.
How multi-DOF encoders simplify calibration
An alternative approach is to use the Multi-DOF encoder as a calibration system. Here, the scale is mounted to a pre-calibrated carrier that is resistant to thermal or mechanical influences. This ensures the system preserves its high-end accuracy after repeated mounting/dismounting of the scale with minimal deviations. The scale would then be used on one machine at a time to detect mechanical deviations. The resulting data would then be used to create a machine mapping table for each individual machine, which is stored in the controller and then used to compensate for errors during regular operations using other axes on the system.
To ensure that the calibration scale maintains its highly accurate measuring standard, it would undergo regular quality control and recalibration at a Heidenhain facility.
About the Author

Leaders relevant to this article:


